
 |
| A shimmery, crystally, classically-modern Master Bedroom Accent Wall (Private Residence, Brooklyn, NY) |
All hand-painted walls with subtle depth and rich finishes require many, many layers of work to achieve. The artist has to actually create a "formula" to achieve these results. The invention process takes place off-site, in a studio, on sample boards. I'm not sure how everyone else works, but for me, this is the most special part of the process. I love playing around with different products, mixing up colors and experimenting with new things. The most important part of this process is keeping good records (or "recipes," as I call them). You have to be able to reproduce your creations!
 |
| Here's a glimpse of a work in progress in the studio. I have kept test cards, recipes and records of every color, every finish and every project ever accomplished in my 14 years of painting! |
Before I get to the design studio, the genesis of all new projects really begins with a Consultation. This is a no-charge, initial meeting where I travel to a client's home, view the space to be painted and discuss ideas and designs. Measurements are taken, samples and photos are shown, colors are debated and a preliminary budget is discussed. This is, in essence, a "first date" of sorts.
I have a pretty good sixth sense at these meetings. I seem to have the ability to pick up on a client's creative vibe. Sometimes, I intuitively know what they would like and then attempt to translate that into what would work in the space. Sometimes, it's not that easy. I have to ask lots of questions and dig a little to get those answers. Once in awhile, I show photos of previous work or tear-sheets from magazines... and as soon as I see a client's eyes light up, bingo! There's a clue. Other times, I get lucky, the walls just speak to me and I "see" something in my mind's eye. Mostly, I just absorb what is already in the space that inspires me... and then I take that to the next level: selecting colors and patterns that will enhance the prettiest things already in the room.
There was a little bit of everything happening on this consultation, for a Master Bed Room. The clients were a fun and friendly couple with three young children. They were extremely good communicators, very receptive to different ideas, willing to take a design risk and supportive and understanding about the creative process. I kept envisioning a "boutique hotel look" for them, and imagined a luxe, tranquil space for them to sink into at the end of a long day. They commissioned me to make them a few samples based upon a few ideas discussed, and loved what I presented to them a few weeks later.
I was really attracted to the smoky mirrors and silvery accents already existing in the Master Bedroom. Silver, glass and mirror always lend such understated elegance to a space. They suggest a little romance, a hint of mystery and a sexy, old Hollywood vibe.
 |
| This gorgeous piece in the room inspired me with it's shimmery silver-leaf and classic, geometric lines. |
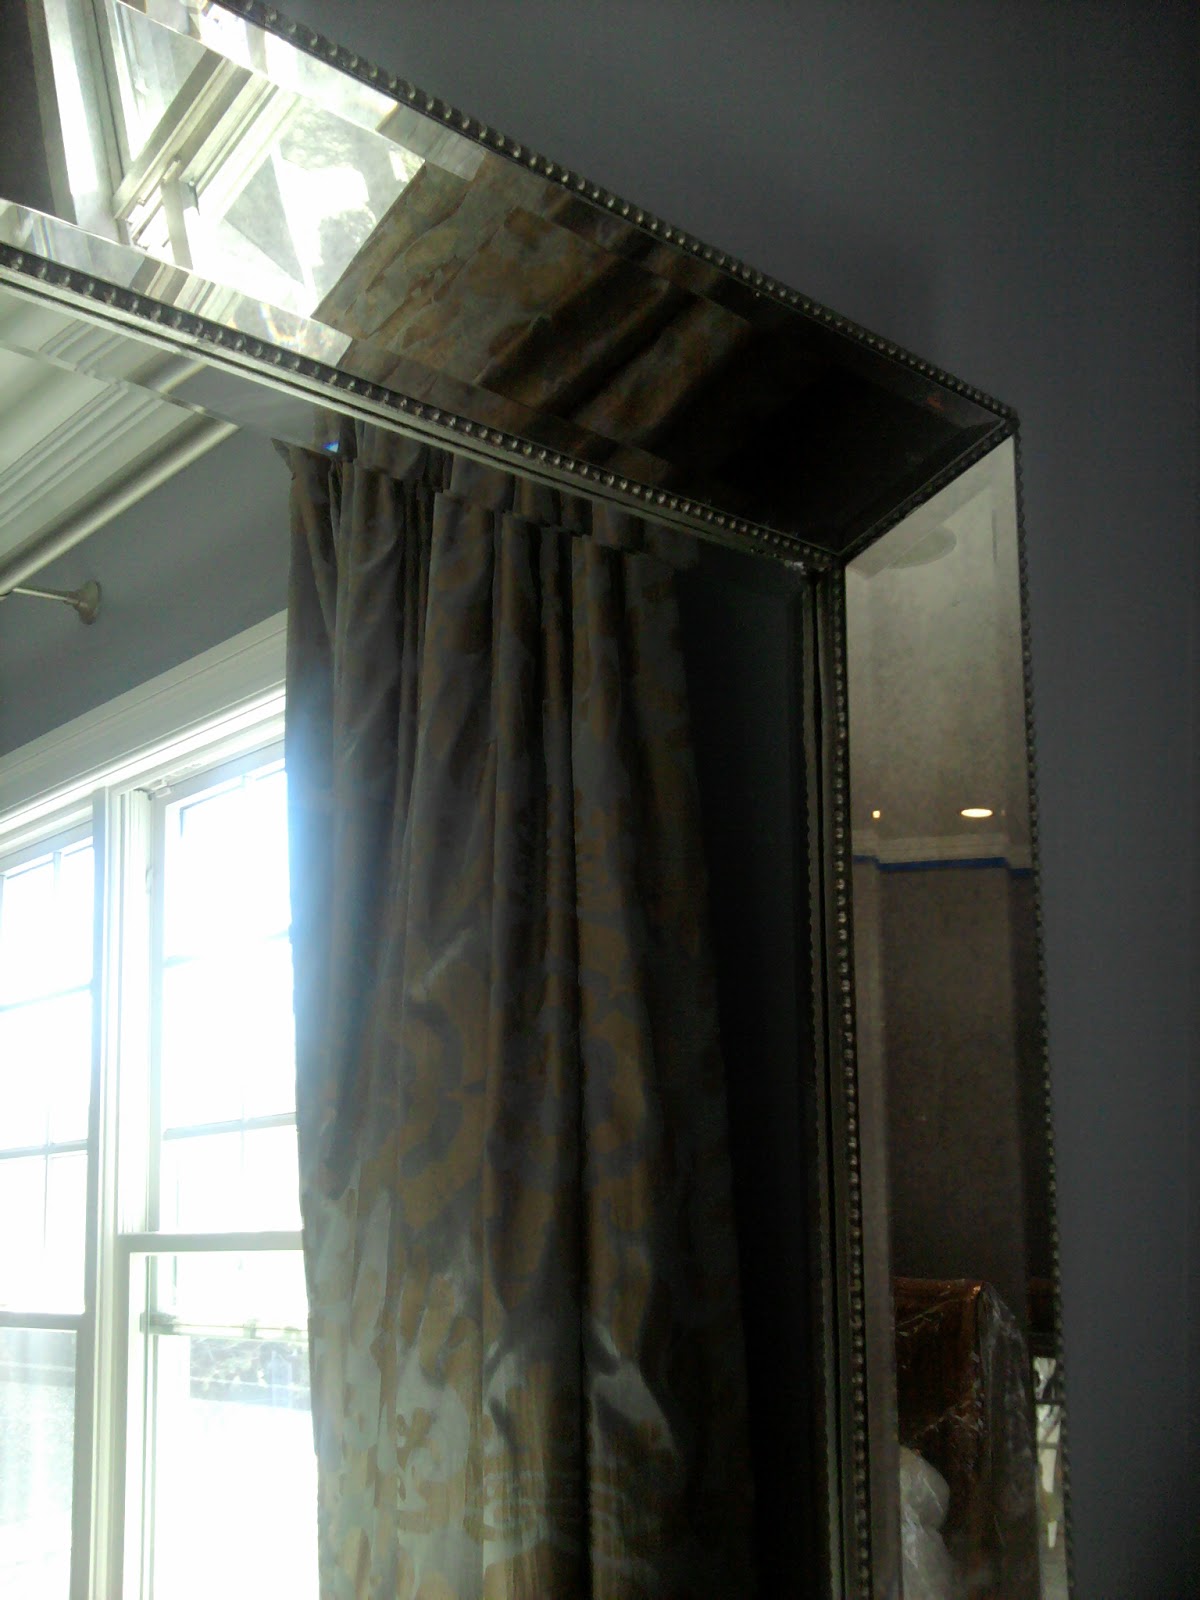 |
| I also really liked this smoky, oversized mirror with beaded trim |
 |
| The other accent pieces were of mirrored finish and all of the artwork was framed in a silvery-hue. |
I started out on a pale grey, flat painted "canvas" that was prepared for me by another painter. My first step was painting the wall metallic silver.
 |
| Always apply a metallic over a base of paint in similar color. It will give a richer over-all hue to the finished product. In this case I used a base of flat grey for a silver top coat. |
 |
| Next up was a troweled-on layer of ShimmerStone tinted silver. ShimmerStone is just like Venetian Plaster, except it has a "pearlized" finish as opposed to a "glossy shine." I love working with it! |
 |
| Note: This is what it looks like while it's "setting up." I know, scary right? And you thought airplane pilots had nerves of steel? |
 |
| Next up was a custom sized stencil from Wallovers. The entire wall needed to be stenciled with flat white paint as a "backing" for the glassbead gel that I would be applying. The glass bead product dries to a clear and would get totally lost on the wall if I didn't back it with something. |
 |
| So, here is the wall, now completely stencilled in white and ready for the lovely glass bead gel application. As I was working, the wife just happened to mention that her hubby has OCD. I could tell he was kind of a perfectionist, but... seriously? Um, Great! Thanks for mentioning that! Better knowing late than never! That level never left my side. |
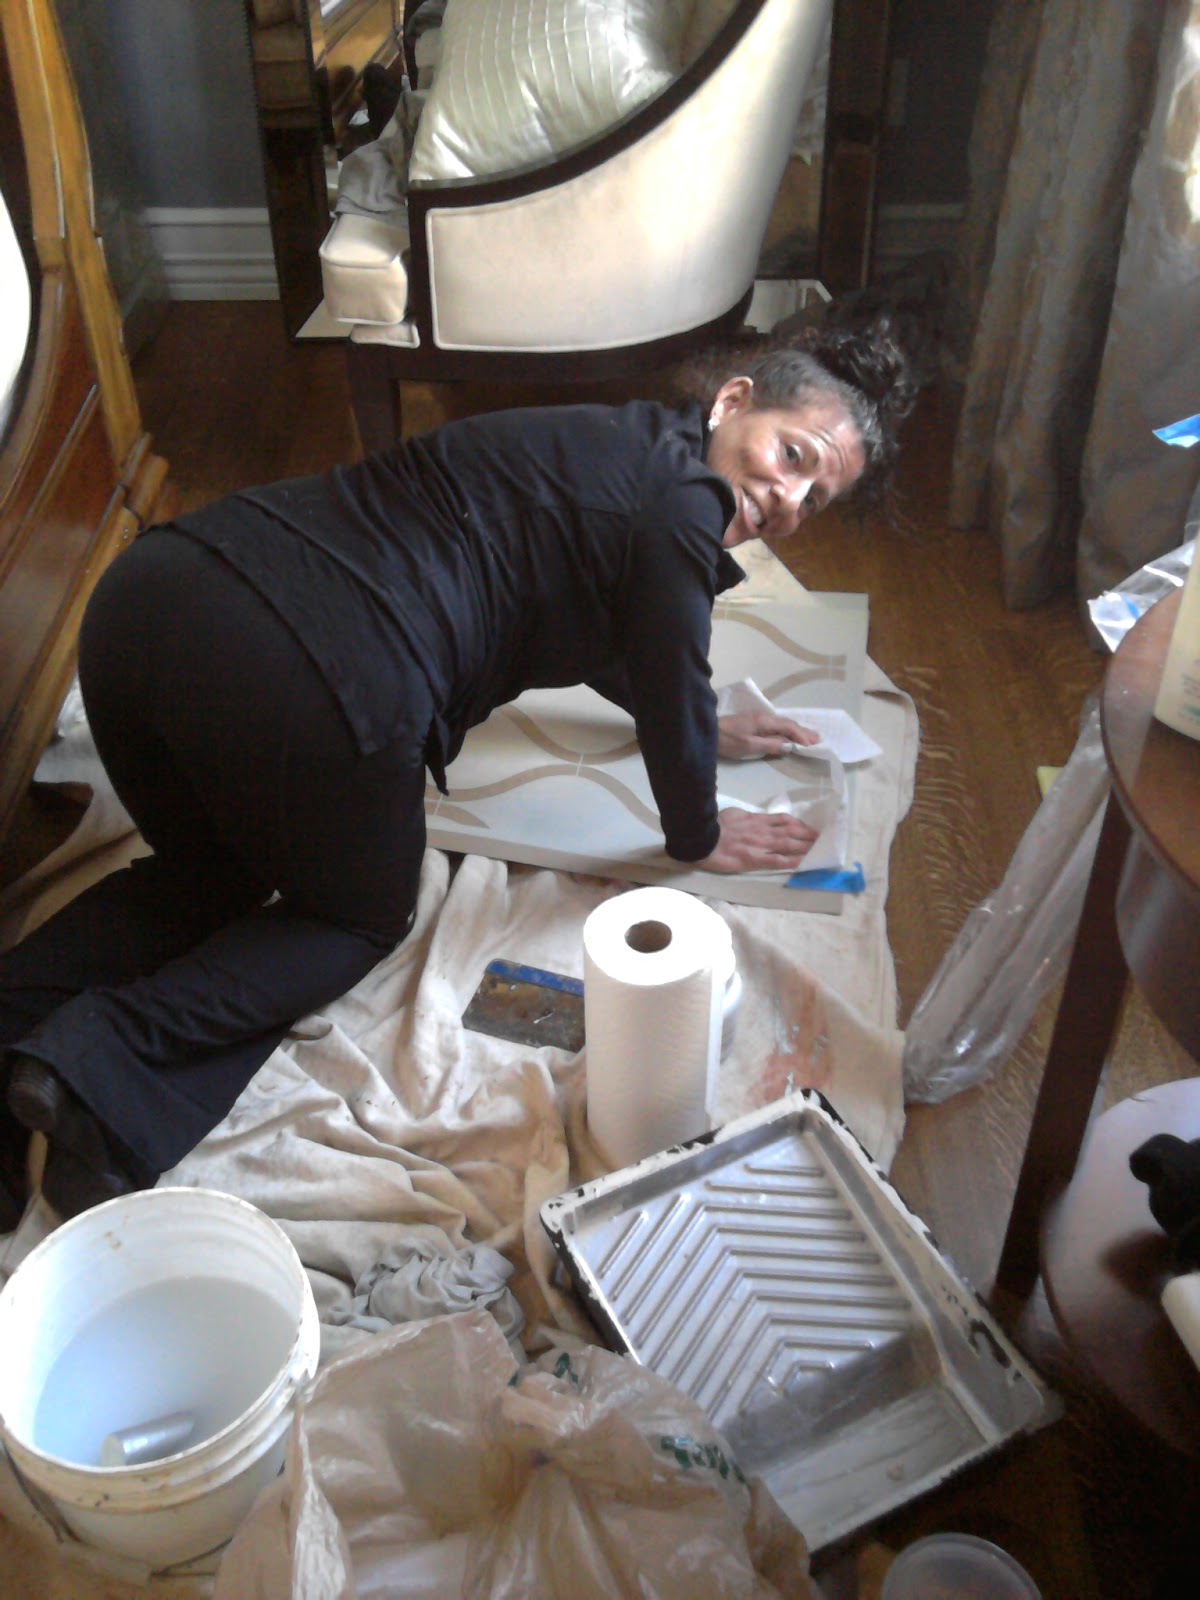 |
| ....and.... I called in the Reserves... Here's my clean-freak, slightly neurotic (in a good way) friend, dear Robin. I hired her to clean up after me and keep the stencils SPOTLESS, thereby insuring the crispest lines on the wall. Fighting fire with fire! |
 |
| I applied the final layer, Golden's Glass Bead Gel, with a rubber spatula. It was pretty simple, like icing a cake, but a little tedious because it added weight to the stencil and required scraping of the excess and cleaning the stencil after every pass. Oy. |
 |
| So here is the wall half-way stenciled with glass bead gel. You have to wait until one area dries to the touch before stenciling the area next to it, as the stencil must overlap the previous area to form a continuous pattern. The gel goes on white but will dry clear. |
 |
| So there you have it. The wall is really beautiful and looks different from every angle of the room, depending on how light hits it. Silver, pearl and glass beads all reflect and glow differently! |
 |
| Here's another view... Note: the white spots is where the glass bead gel is still setting up |
 |
| Here is a detail close-up of the glass beaded stencil pattern |
 |
| And one more shot of how the wall works in the space... |
xo,
AGP

